|
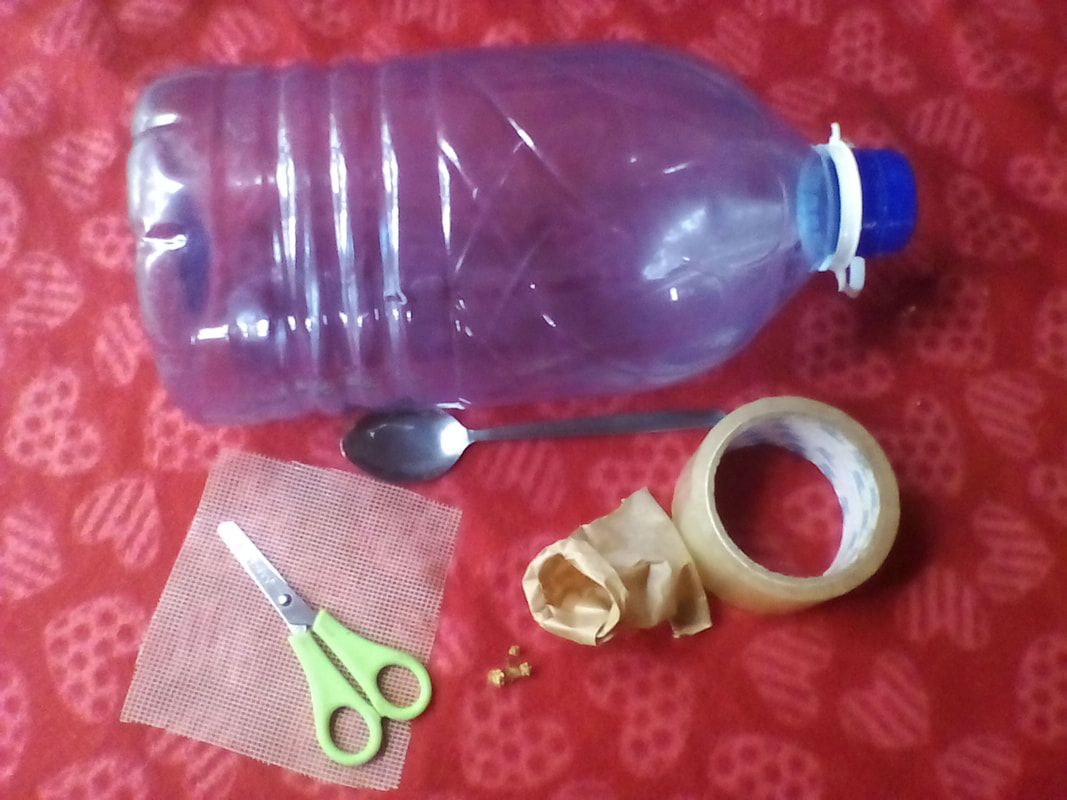
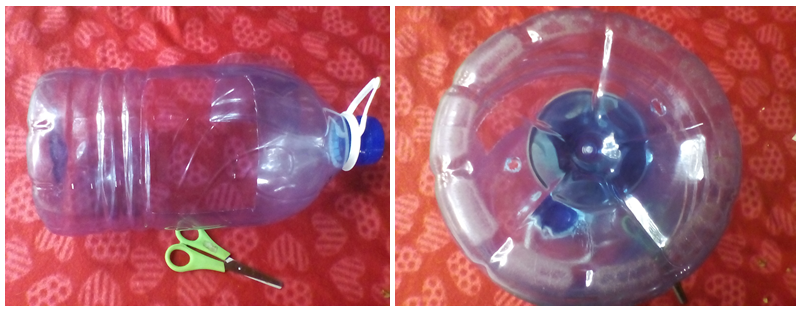
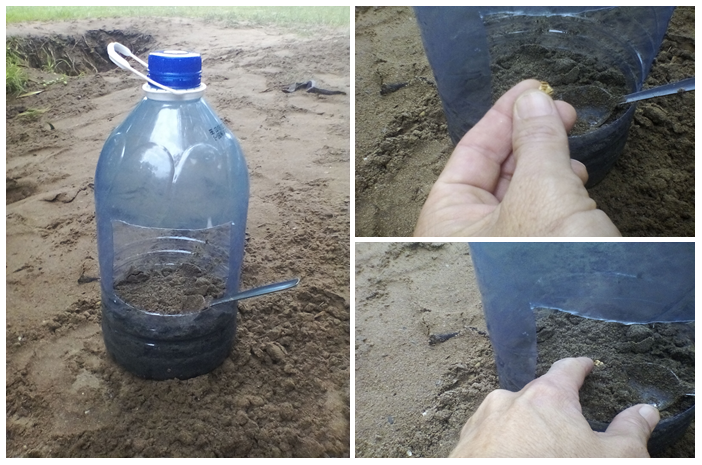
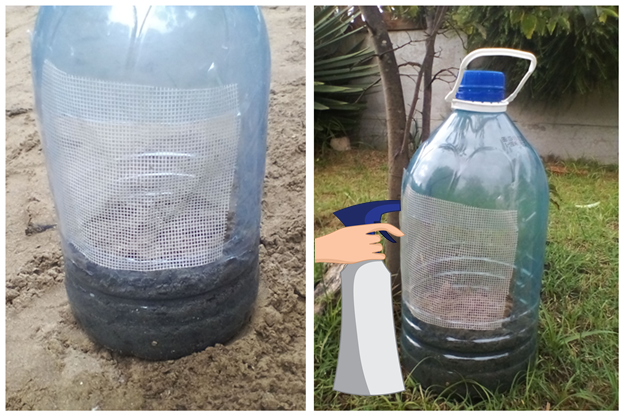
Thursday is blog day! I don’t know about you, but I’m feeling springy all over – I’m springing from here to there and everywhere! I love this time of year the best. A few weeks ago I created a bird-feeder from a plastic bottle, and showed you how to make one, too, in a blog. Today, we’re going to do more with a plastic bottle – we’re going to make a mini-greenhouse, for you to grow a seed in without it getting damaged by the wind and rain or bugs - not Sugar Bugs, just garden bugs! I got the idea to share this with you from Rose’s book called ‘The Lone Avocado Tree’; a story about the wonderful Avocado seed that would not give-up! So, let’s begin; how to make your own mini-greenhouse! What you’ll need: 1 - A large plastic bottle. 2 - Scissors (ask your parents to help you with the cutting, please). 3 - A small piece of netting. 4 - A spoon. 5 - Sticky-tape. 6 - Seeds of your choice. 7 - Dark soil (you can make your own compost, too, by mixing old veg and fruit cuttings into your dark soil a few days before you plant your seed). 8 - A spray-bottle. Preparing your mini-greenhouse: 1 - Cut a small square from the side of your bottle, leaving enough space at the bottom for the nice, dark soil. 2 - Cut two small holes into the bottom of your bottle, so that excess water can drain out of it. It’s important you ask an adult to help you with this, as some plastics can be thick and you don’t want to hurt yourself! 3 – Using your spoon, fill the bottom of your bottle with dark soil (you can add a compost mix if you think the soil is not rich enough in nutrients). 4 - Using your fingertip, press your seed into the center of the soil in your bottle. Only push it one to two centimeters into the soil, otherwise the sprout may get tired trying to push its way to the surface. 5 - Place your netting over the cut-out opening in your bottle, then stick it down either side with your sticky-tape. 6 - Place your mini-greenhouse somewhere in your garden that other plants like, too. It should not be too sunny or too shady. The best environment is one where the seedling will get sunlight in the morning and shade in the afternoon. 8 - To water your seedling, which you’ll need to do every day, use a spray-bottle to spray water through the netting and onto the soil in your bottle. Spray as much as you need to so that the soil’s surface is wet but not flooded. Spraying water into your greenhouse prevents the seed’s bed from being disrupted or disturbed by ‘heavy’ water. Within two weeks you should see the first signs of your little sprout pushing through the surface of the soil. You can watch videos of a germinating seed, if you like, to get a great idea of what’s happening to your seed under the soil, and how it grows. As your plant grows, keep spraying it with your spray-bottle (daily) until it appears to be getting too big for your mini-greenhouse. Once this happens, you can cut the top of your greenhouse away from the bottom half, then gently scoop the plant and just about all of the soil around it from your mini-greenhouse. Place your now ‘teenage’ plant where you want to see it growing in your garden, making sure the roots are covered nicely. You see, when you make a mini-greenhouse like this, you’re protecting your seedling from rain, wind and bugs – it gets a head-start in life, and the condensation from being in an outside environment will keep the soil damp and healthy. This really is an awesome way to grow plants, and I hope you’ll have a lot of fun making your mini-greenhouse! Feel free to send Rose and me pictures of your creation – we’d be thrilled to see it! You can do so by contacting me, Sasha, via this website, or you can leave your picture in the comments on Facebook. Until next time, enjoy every minute of being outdoors! Keep shining, stay magical! Sasha ~ The Lone Avocado Tree
0 Comments
Leave a Reply. |


 RSS Feed