|
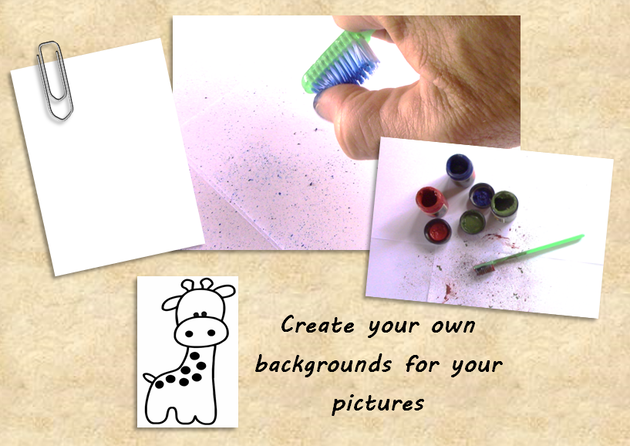
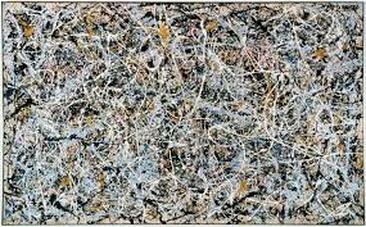
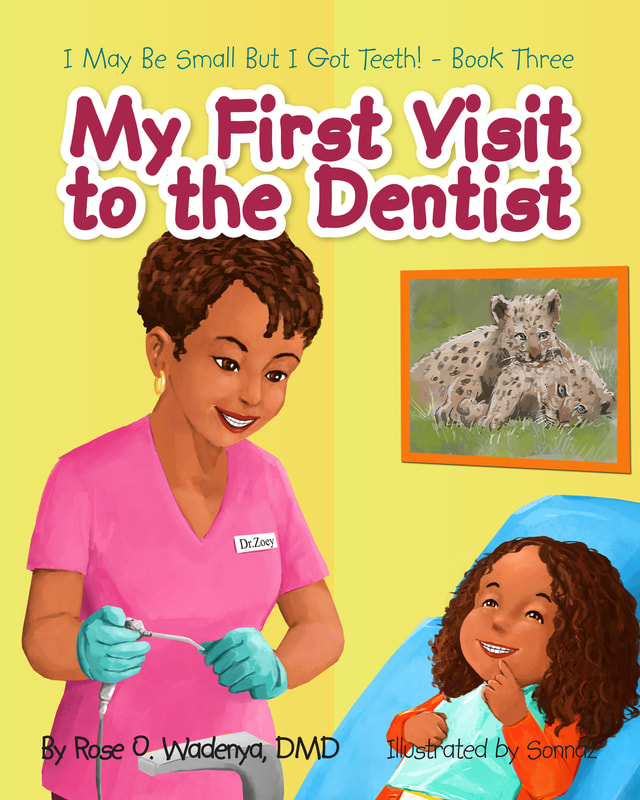
It’s January 3rd, 2019. We do hope your New Year’s Eve and January 1st were days to remember. For many the season of celebrations is over. But, if you’re anything like Rose and myself, we believe this year is going to bring so many opportunities to be creative and constructive. And so, today is a great day for the final blog in the ‘Fun Things to do with an Old Toothbrush’ series. If it’s cold where you live and you’re indoors today, then get out your old toothbrush and paints and get creative! Why a toothbrush (you may say) and not a paintbrush? Well, there’s a special way to use a toothbrush to paint with, and it’s great for creating backgrounds and even coloring areas of an outlined drawing known as a ‘stencil’. Below is a picture of what a stencil is, in-case you’ve not seen one before. I’ve also added a butterfly stencil that you can download then cut away. You can cut the white areas or the black areas, depending on which parts of the butterfly you’ll want to color. What you’ll need: 1 – An old toothbrush 2 – Paints 3 – An apron 4 – Card/paper to make your stencils (optional) 5 – Scissors to cut your stencil (optional) 6 – Jar lids for your paints 7 – A cup of water to wash your toothbrush 8 – Paper or card to paint on How to use your old toothbrush as a paintbrush: 1 – Pour your paints into your separate jar lids. 2 – Put your apron on because this could get real messy! 3 – Dab your toothbrush very lightly into one of the jar lids of paint, depending on which color you want to start with. 4 – If you’re going to create a background of sprayed color, you won’t need a stencil. If you want to color within the areas of a stencil you’ve made, place the stencil on your painting paper. 5 – You’ll have to work a little more quickly than if you were using a normal paintbrush, because you don’t want the paint to drip from your toothbrush and onto your paper. 6 – Using your thumb, like in the picture below, press gently on the top of the bristles of your dipped toothbrush then pull your thumb backward slowly. 7 – You’ll see the paint spray off from the bristles and onto your paper. 8 – Once you’re done with one color, wash your toothbrush in your cup of water so that the color from the next jar lid of paint you’ll want to use won’t mix with the first color you used. This is such a fun thing to do, but you will need to clean-up after you’re done. You can create anything you like with stencils, and any kind of background for any picture you want to create. Did you know that some artists like Jackson Pollock became famous for ‘splatter-type’ art? It looks like a huge painting that someone created by simply spraying paint everywhere, but these paintings can sell for hundreds of thousands of dollars! Each artist has their own unique ‘signature’ style. So, if you want to become a famous artist, too, this is a great way to begin. Art is like eye-candy, the same way candy is sweet to taste. If you’ve eaten too many candies over the holidays and you’re due for a visit to the dentist, a great book to read by Rose is ‘My First Visit to the Dentist’. It tells the story of young Rosie who has her first appointment with Doctor Zoey, and what she can expect. It’s all good, no need for you to worry at all! Once you’re done with your painting, Rose would really love to see it (or them). You can send me an email by subscribing to my ‘personalized letters’ – I’ll receive your email then reply, and then you’ll be able to add your picture in an email to Rose as an attachment. Well, next week we’ll be thinking about heading back to school. Rose and I have some great things to blog about, so don’t forget to check back here every Thursday to read more. Until then, have a super time painting and enjoy the rest of the holidays! Keep Shining! Sasha ~ My First Visit to the Dentist
0 Comments
Leave a Reply. |

 RSS Feed