|
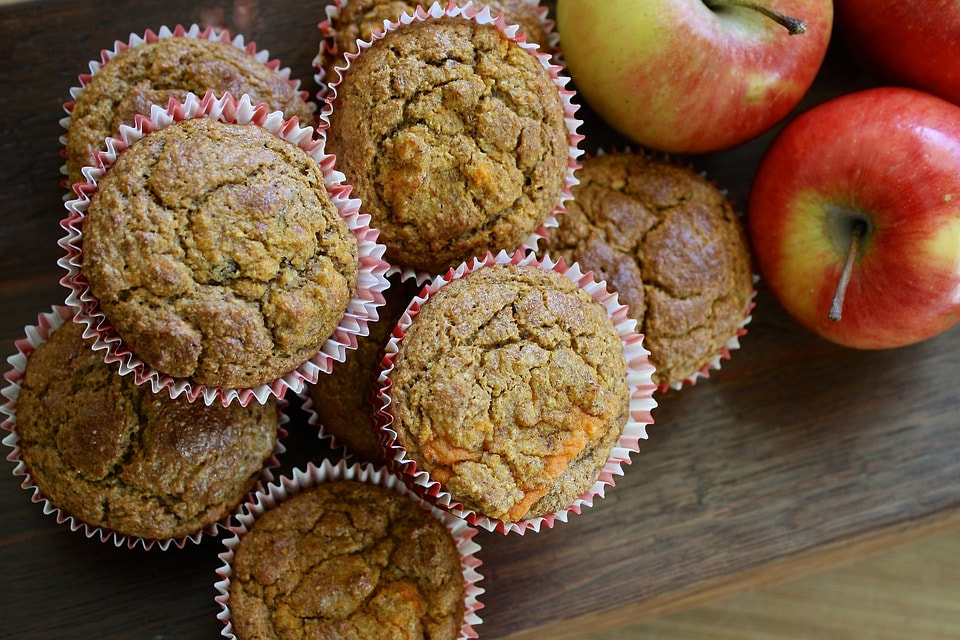
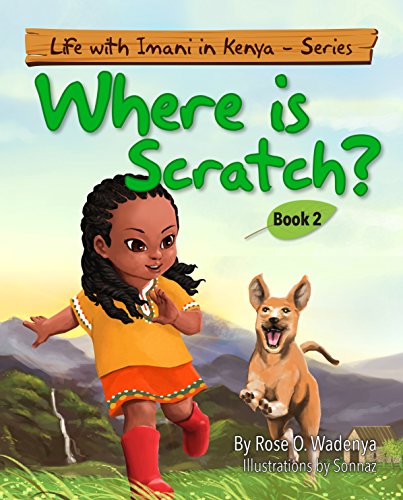
Hello all! As you know Thursday is blog day, and today we’re giving you a most-delicious recipe for some most-delicious, healthy, sugar-free apple muffins. Copy down the ingredients and get shopping, so that you can make them this weekend. We fairies love apples and baked treats very much! And so, when Imani told me her grandmother’s recipe for apple muffins I simply had to share it with you (Rose agreed, of course). They’re not sugary nor too sweet, so they beat candies and chocolates hands down! They make the perfect breakfast or anytime snack, and are fun to make. Perhaps your grandmother bakes with you as well? Imani’s grandmother loved to bake, and whenever Imani went out to play in the meadow with Scratch and Patch, they’d be lured home across the valley by the smell of her freshly-baked healthy apple muffins. You can read all about this in Rose’s book ‘Where is Scratch?’
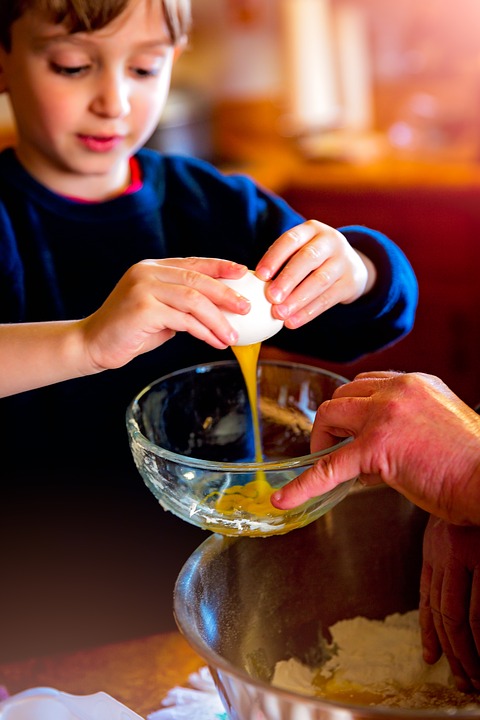
So, here’s the recipe for healthy sugar-free apple muffins! What you’ll need: 1 ¾ cups whole-wheat flour 1 ½ teaspoons baking powder 1 teaspoon cinnamon powder ½ teaspoon baking soda ½ teaspoon salt 1 ½ cups grated apple ⅓ cup melted coconut oil or olive oil ½ cup honey 2 eggs ½ cup thick plain yogurt ½ cup applesauce 1 teaspoon vanilla essence
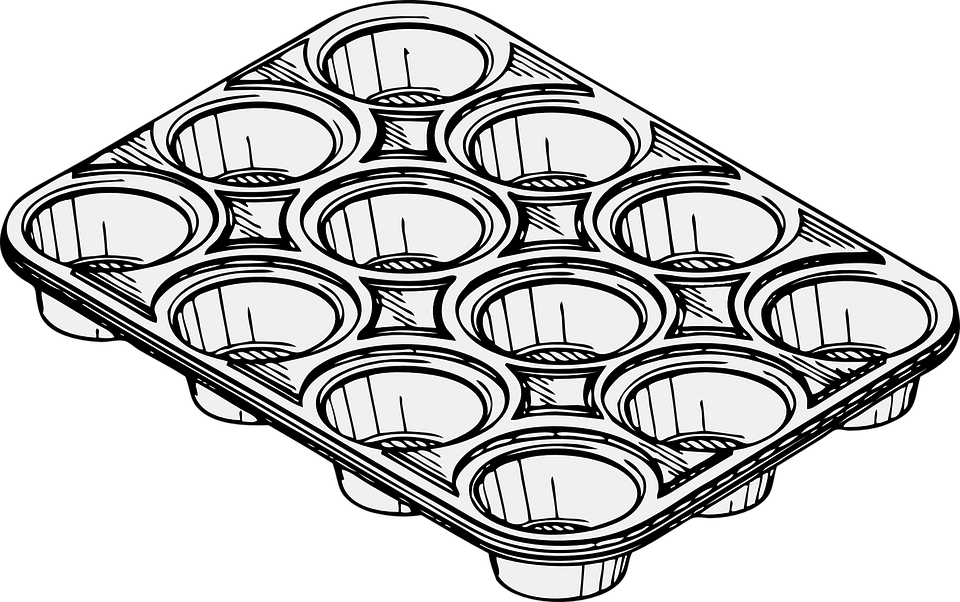
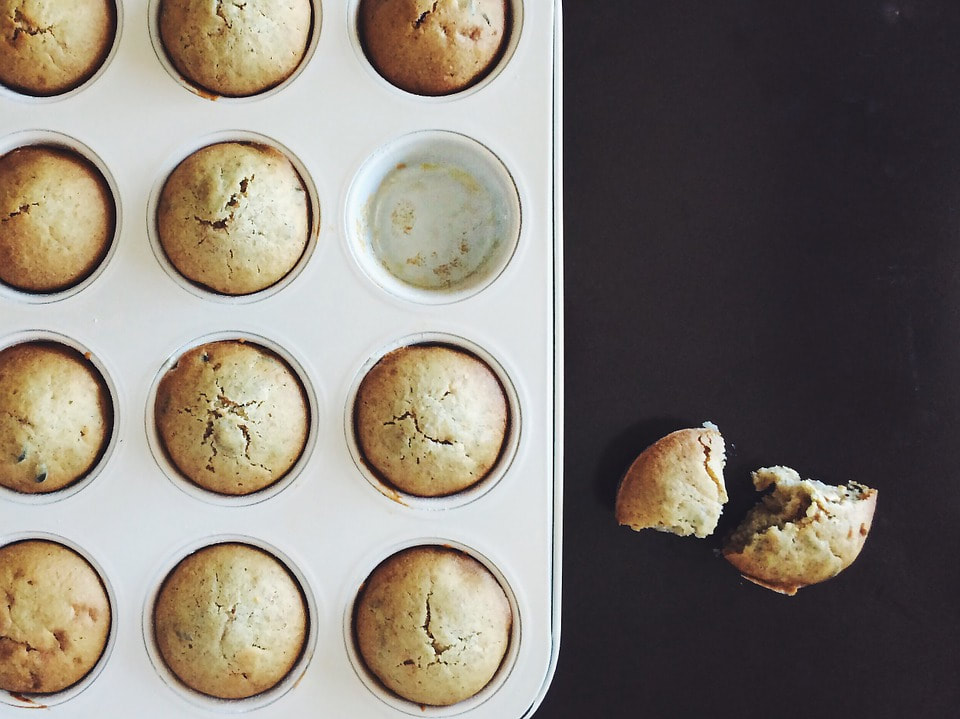
What to do: 1 - Preheat your oven to 325F or 180C. 2 - Grease your twelve-cup muffin tray lightly with oil or butter. 3 - Using a big bowl - mix the flour, baking powder, cinnamon, baking soda and salt together well with a wooden spoon. 4 - Once the dry ingredients are combined, add the grated apple. 5 - In a separate medium-sized bowl, mix the coconut or olive oil together well with the honey. 6 - Add your eggs to the oil and honey mix, and beat them together well. 7 - Add the applesauce, yogurt, and vanilla essence to the oil/honey/egg mix and beat them together well. 8 - Make a volcano in the middle of the dry ingredients (and grated apple) in the big bowl, and then slowly pour your wet mix from the medium-sized bowl into the volcano. Use your wooden spoon to then mix all of these ingredients together well, until you have a thick batter. 9 - Use a big spoon to scoop this thick batter into the cups of your greased muffin tray – you should easily fill all twelve cups. 10 - Place your filled muffin tray into your heated oven, and allow the muffins to cook for twenty to twenty-five minutes, until they are golden in appearance. You can test your muffins by poking one of them with a fork. If the fork comes out dry they are ready. If the fork comes out with what looks like uncooked batter stuck to it, allow them to bake for another few minutes. 11 - Once they are well baked you can remove the muffin tray from your oven and place it on a cooling rack, leaving them to cool for a few minutes before attempting to remove each muffin from the tray. Once they are just slightly warm to the touch, remove each of them from the tray and place them on paper towel to cool entirely (although, if you’re to eat them fresh with butter, you can eat them warm so that the butter melts on your muffin – yum)! 12 - If you store your muffins in a cool dry place, they should last for up to three days.
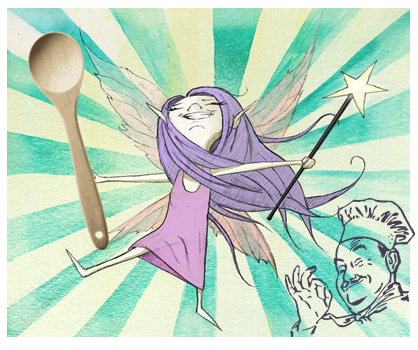
And there you have it! Sounds pretty simple to me! In fact, I’m going to try and make these right now, but with much smaller ingredient quantities, of course – I wouldn’t want to full my house with healthy apple muffin batter, no matter how delicious that sounds! If you try your hand at these, please send us some pictures and tell us how good they were. You can send me a message through my page here on Rose’s website, or you can leave a comment on her Facebook page. Until next week, happy baking! Keep shining, stay magical! Sasha ~ Where is Scratch?
0 Comments
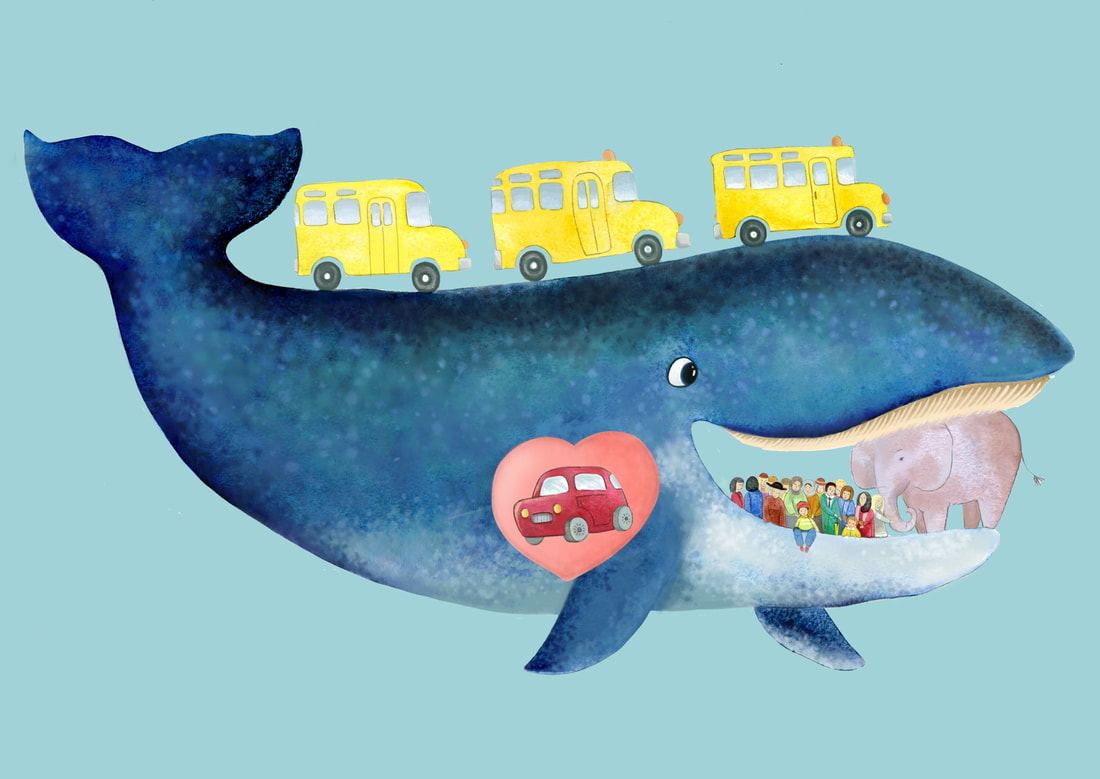
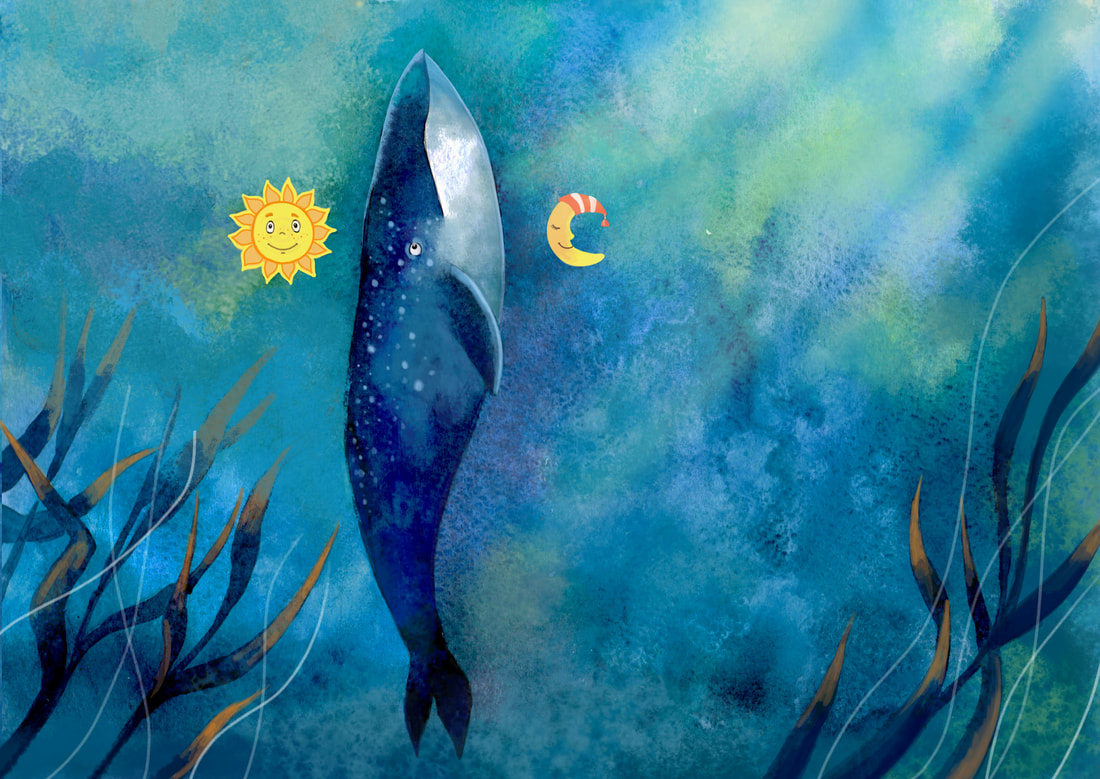
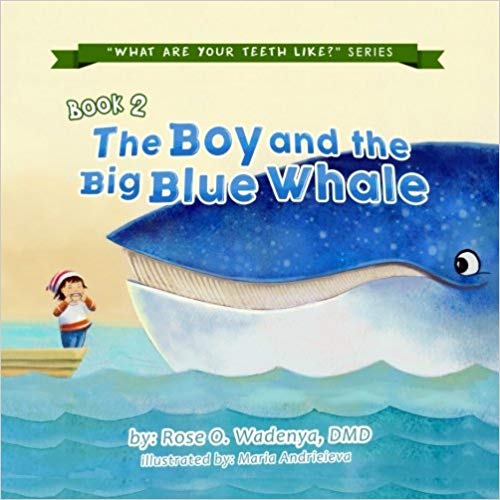
Hi, hi! It's me, Sasha! Thursday is blog day, and today I'm going to be sharing some fun facts about Blue Whales with you. Aren't whales the most magnification creatures? I have mermaid friends in the ocean, and they've told me so much about these giants of the sea. If you've been fortunate enough to see a Blue Whale before, please share your experiences with Rose and me - we'd love to hear about it! Rose wrote a series of books with animal characters and human friends. In each story a different animal compares their teeth to their human friend's teeth. The series is called 'What Are Your Teeth Like?' and you can find all of these books here on her website. Of course, I was inspired to write today's blog because of her book 'The Boy and the Big Blue Whale.' And so, here are some fun facts about Blue Whales! 1 - Blue Whales are the largest of all mammals. They are so large, in fact, that their tongue alone can weigh as much as an elephant, and their heart as much as a small car. 2 - Blue Whales do not have teeth. Instead, they have rows of bristles attached to as many as three to four-hundred plates at the entrance to their mouth, which serve as a filter. One would think they only eat fish, but they do not! They eat plankton and krill which are filtered through their 'baleen' mouths, and they do so by taking in a mouthful of plankton/krill-filled water then pushing the water out through their baleen filter, to be left with only the food inside their mouth.
3 - Blue Whales also happen to be the loudest of all the mammals, and their calls can be heard by one another from as far as 1600km away. Go on, take a listen to their calls on Wikipedia! 4 - Blue Whales never really sleep! Instead, they are able to make use of one side of their brain at a time, which means that while they rest the one half the other is still alert. So, they actually are awake while they sleep. And to make sure they don't drift too far, they sleep facing upward with their tail to the ocean floor and their head to the surface.
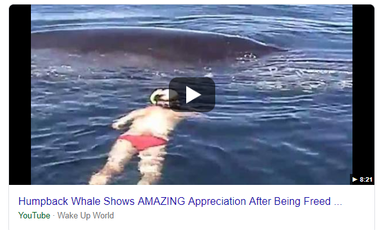
5 - Although Blue Whales spend their life in the ocean like fish do, they are mammals and therefore need oxygen to breathe. This is why they come to the surface so often. When they dive deep for plankton and krill, they can reach depths of up to five-hundred meters. 6 - Did you know that the Blue Whale is actually classified as a Carnivore? That's right - krill is considered meat in their case! 7 - Blue Whales have a lifespan of between eighty and ninety years, but they have been known to live to as old as one-hundred-years-old. 8 - Sadly these magnificent creatures are declining in numbers. Although they are considered Endangered, in some parts of the world they are still hunted or referred to as an 'accidental catch', meaning the hunters 'thought' the Blue Whale was actually a 'Minke' or 'Fin' whale. 9 - Whales are very emotional creatures and will stay with their families for most of their lives. They have been known to even approach humans for help if they've gotten into trouble, like being tangled in a net. Watch this video below - you'll quickly understand how emotional and wonderful whales are. 10 - If you live anywhere near the American Museum of Natural History, you'll be able to see this life-sized hanging Blue Whale and get a true feeling of what it must be like to be near one in the ocean - just like the young boy from Rose's book!
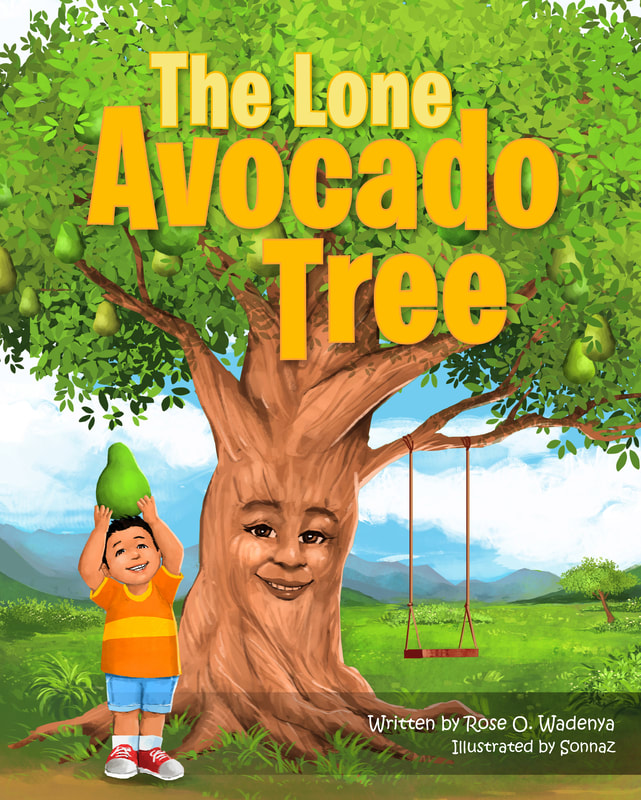
Well, I do hope you've learned a little more about Blue Whales through today's blog. I've had so much fun creating it for you - it's a pleasure! I definitely have to put 'swimming with a Blue Whale' on my bucket list, although I'd probably just hover above the whale... because I'm a fairy... and I can't wet my wings... you know. I know you'll agree when I say neither whales nor dolphins should ever be hunted, not to make products for humans or for human entertainment. If you want to get involved in helping whales and cetaceans around the world, take a look at a website called Whale and Dolphin Conservation; they'll only be happy to hear from you! Until next week, keep shining, stay magical! Sasha ~ The Boy and the Big Blue WhaleThursday is blog day! I don’t know about you, but I’m feeling springy all over – I’m springing from here to there and everywhere! I love this time of year the best. A few weeks ago I created a bird-feeder from a plastic bottle, and showed you how to make one, too, in a blog. Today, we’re going to do more with a plastic bottle – we’re going to make a mini-greenhouse, for you to grow a seed in without it getting damaged by the wind and rain or bugs - not Sugar Bugs, just garden bugs! I got the idea to share this with you from Rose’s book called ‘The Lone Avocado Tree’; a story about the wonderful Avocado seed that would not give-up! So, let’s begin; how to make your own mini-greenhouse! What you’ll need: 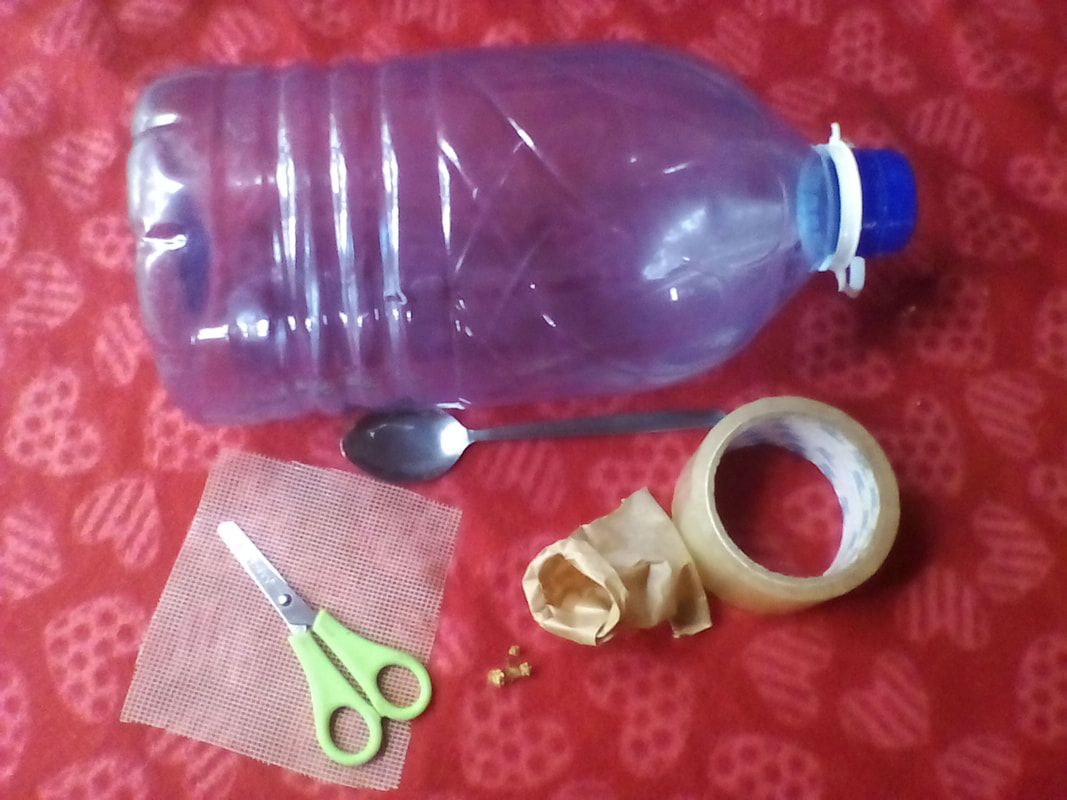 1 - A large plastic bottle. 2 - Scissors (ask your parents to help you with the cutting, please). 3 - A small piece of netting. 4 - A spoon. 5 - Sticky-tape. 6 - Seeds of your choice. 7 - Dark soil (you can make your own compost, too, by mixing old veg and fruit cuttings into your dark soil a few days before you plant your seed). 8 - A spray-bottle. Preparing your mini-greenhouse: 1 - Cut a small square from the side of your bottle, leaving enough space at the bottom for the nice, dark soil. 2 - Cut two small holes into the bottom of your bottle, so that excess water can drain out of it. It’s important you ask an adult to help you with this, as some plastics can be thick and you don’t want to hurt yourself! 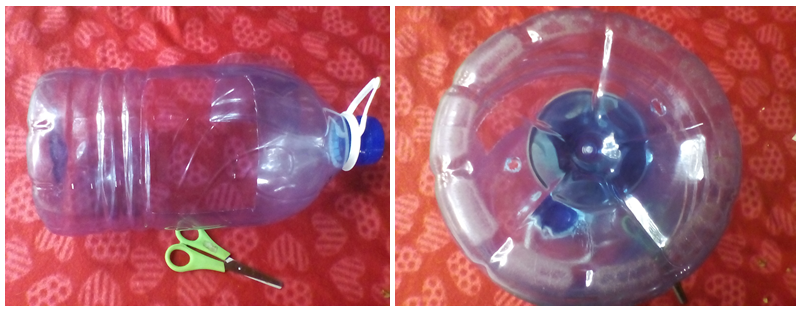 3 – Using your spoon, fill the bottom of your bottle with dark soil (you can add a compost mix if you think the soil is not rich enough in nutrients). 4 - Using your fingertip, press your seed into the center of the soil in your bottle. Only push it one to two centimeters into the soil, otherwise the sprout may get tired trying to push its way to the surface. 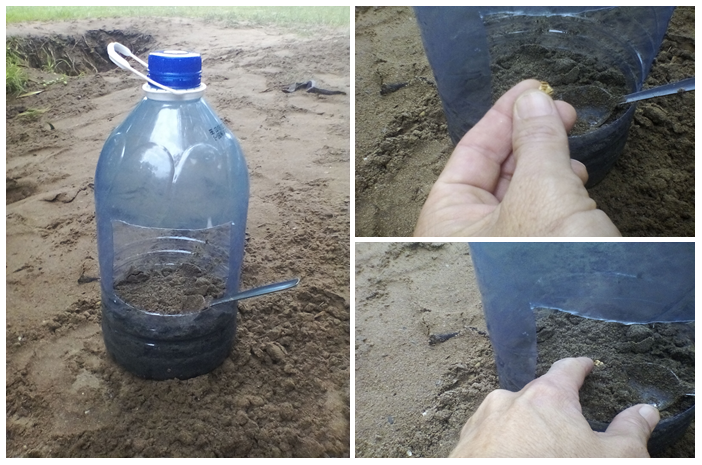 5 - Place your netting over the cut-out opening in your bottle, then stick it down either side with your sticky-tape. 6 - Place your mini-greenhouse somewhere in your garden that other plants like, too. It should not be too sunny or too shady. The best environment is one where the seedling will get sunlight in the morning and shade in the afternoon. 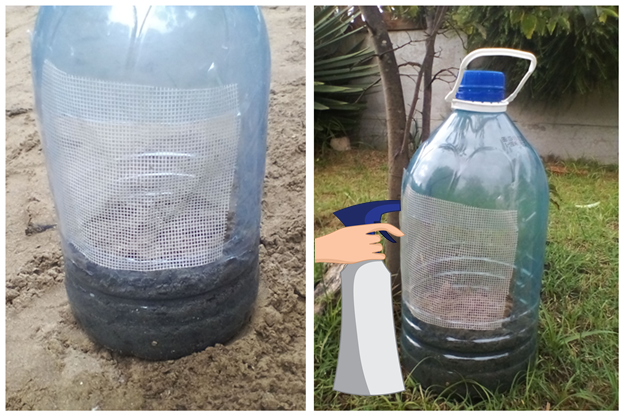 8 - To water your seedling, which you’ll need to do every day, use a spray-bottle to spray water through the netting and onto the soil in your bottle. Spray as much as you need to so that the soil’s surface is wet but not flooded. Spraying water into your greenhouse prevents the seed’s bed from being disrupted or disturbed by ‘heavy’ water. Within two weeks you should see the first signs of your little sprout pushing through the surface of the soil. You can watch videos of a germinating seed, if you like, to get a great idea of what’s happening to your seed under the soil, and how it grows. As your plant grows, keep spraying it with your spray-bottle (daily) until it appears to be getting too big for your mini-greenhouse. Once this happens, you can cut the top of your greenhouse away from the bottom half, then gently scoop the plant and just about all of the soil around it from your mini-greenhouse. Place your now ‘teenage’ plant where you want to see it growing in your garden, making sure the roots are covered nicely. 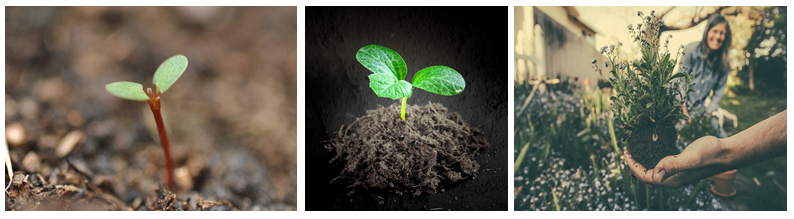 You see, when you make a mini-greenhouse like this, you’re protecting your seedling from rain, wind and bugs – it gets a head-start in life, and the condensation from being in an outside environment will keep the soil damp and healthy. This really is an awesome way to grow plants, and I hope you’ll have a lot of fun making your mini-greenhouse! Feel free to send Rose and me pictures of your creation – we’d be thrilled to see it! You can do so by contacting me, Sasha, via this website, or you can leave your picture in the comments on Facebook. Until next time, enjoy every minute of being outdoors! Keep shining, stay magical! Sasha ~ The Lone Avocado Tree |


 RSS Feed